My resources for this project were Notes From a Mad Housewife, great tips on making the hood into a 3 piece for better form and adding a facing to the zipper to prevent snagging clothing while zipping. Hers turned out amazing. notesfromamadhousewife
I also used the Minoru sew a long on the Sewaholic website. It is a great resource, I highly recommend following along. There are tips and instructions that are not included in the pattern.
sewaholic
and last but not least, Velosewer did all the work for a wider shoulders adjustment!
Velosewer shoulder adjustment
First up was tracing pattern onto my tracing paper for fitting on KG2. In the fitting, it was obvious that the shoulders were not wide enough for my square shoulders.
I believe the pattern is designed for pear shapes, and with my shoulders, I am more tree trunk shaped, so an adjustment was necessary. Instead of reinventing the wheel, I followed VeloSewers changes to the sleeve for the same issue. I just eyeballed the changes after looking at her adjusted pattern pics.
Ready, set, cut!
My fabric is a stretch denim in a beautiful Monet'ish watercolor.

My other pattern changes, cut the back lining 1" wider and on the fold and then basted the fold closed where the original edge would have been. Later release the basting in the upper back portion for more room during forward arm movement. This lining will NOT rip out along the center back!
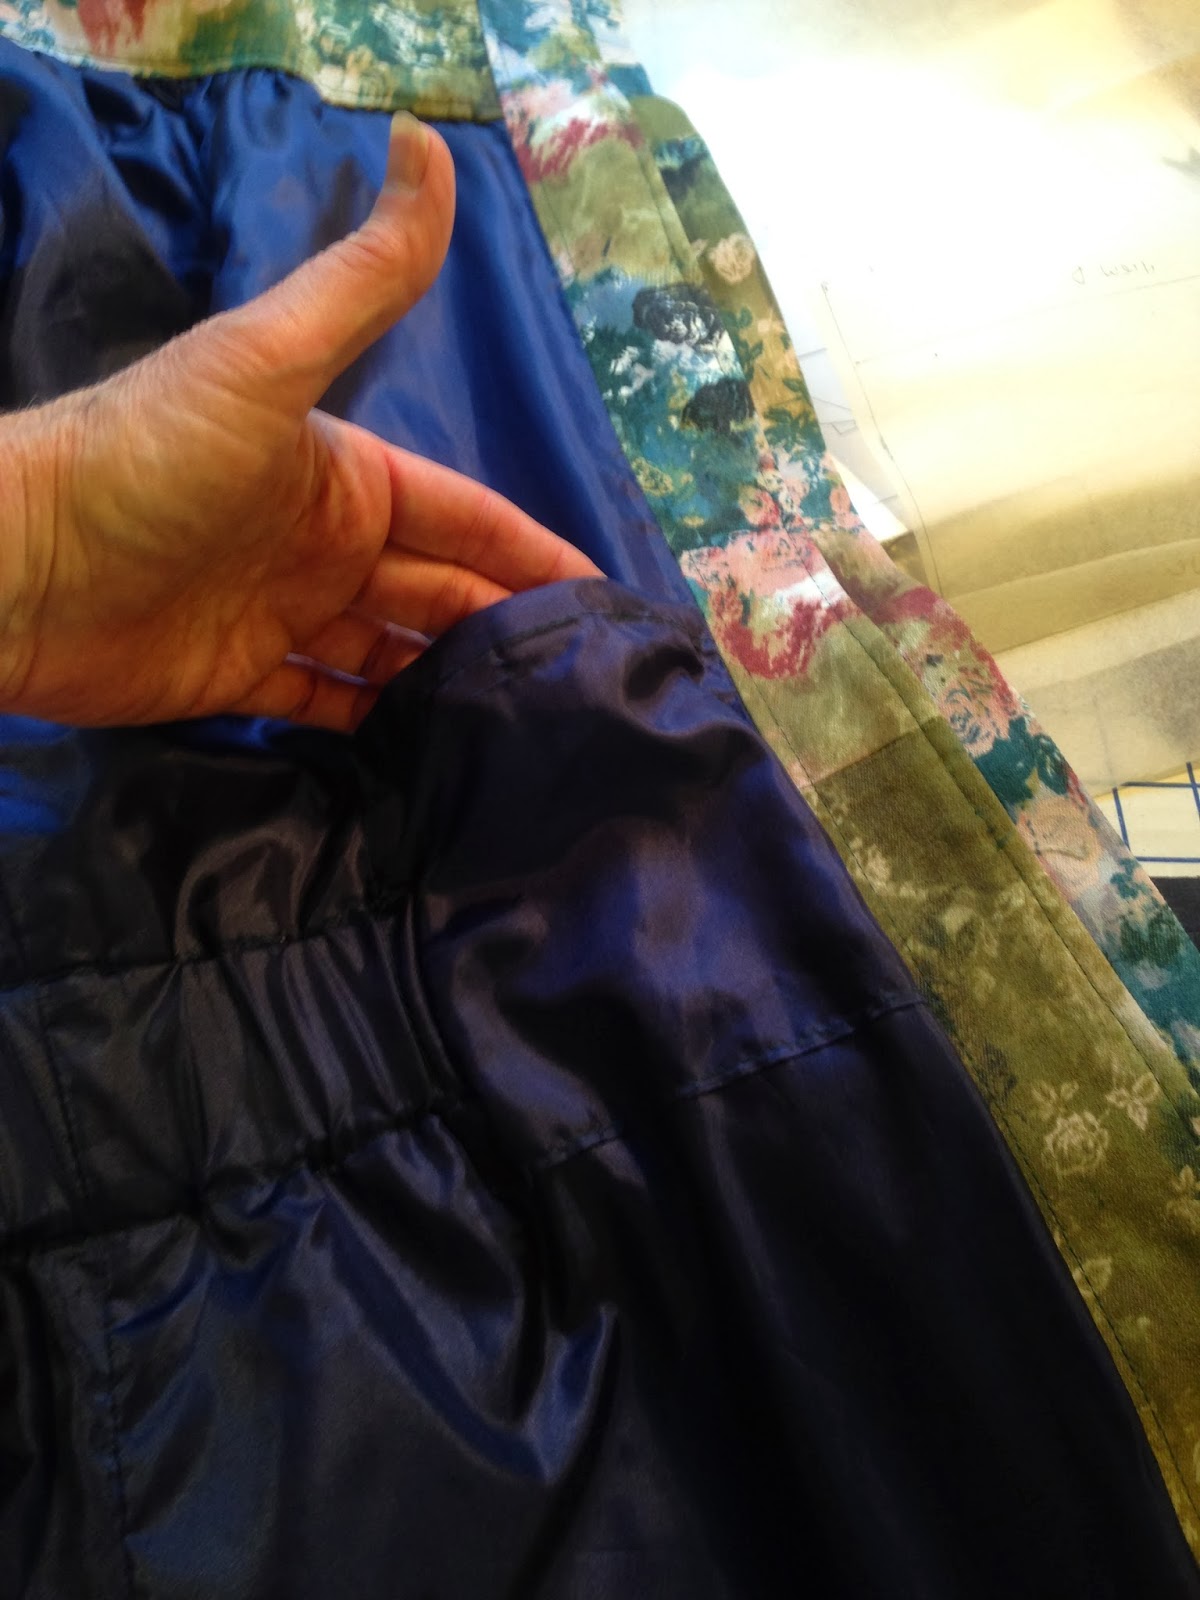
I added inseam pockets on the sides. I just made a generous measurement around my hand, beginning at the markings for the elastic, at the waist.
I also interlined fronts, back and sleeves with a twill with about the same amount of stretch as my outer fabric. I attached the interlining at upper edges and sides with a basting stitch inside the seam allowance. I did not attach them along lower edges, and I ended the interlining about 3" above the bottom of the outer pieces.
Here is my basting which is visible from outside, for when the elastic casing will be sewn in later. I ended up sewing the actual casing about 3/4" higher than the markings, and making it 1/4" wider, as my elastic was 2" wide and the casing was originally 2" wide.
I cut 2 extra lining pieces for the collar. I then lined the back of the collar piece after installing zipper, as I did not like the zipper tape being visible.
Here is where I lined the back side of the collar with the zipper installed.
Once the hood is inserted, the extra lining just gives it a nice finished look while the hood is in use.
And the other extra lining piece makes the inner collar look nice while the hood is hanging down. You can see in this photo that the hood is not just 2 pieces, I used the 3 piece idea from Notesfromamadhousewife. I also lined the hood.
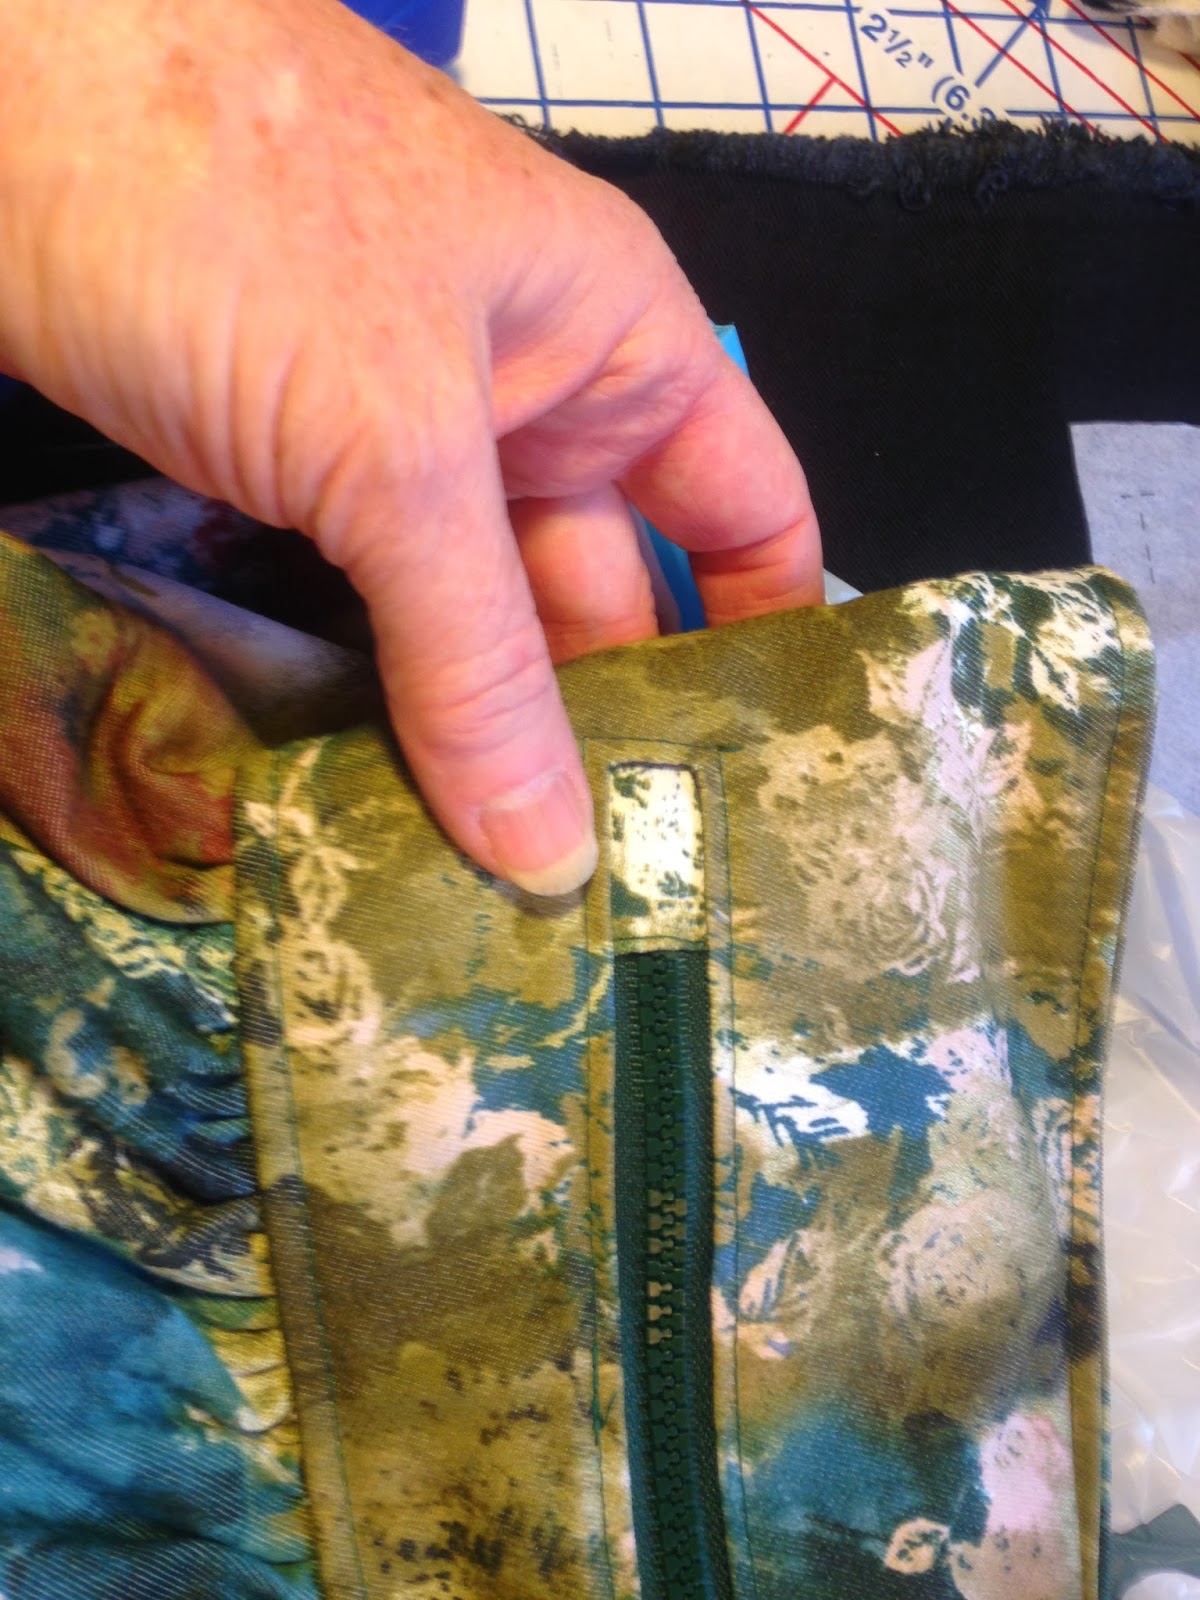
I found that the recommended zipper was about 1" short. I just created a fold of fabric and covered what would have been a hole where the zipper ends.
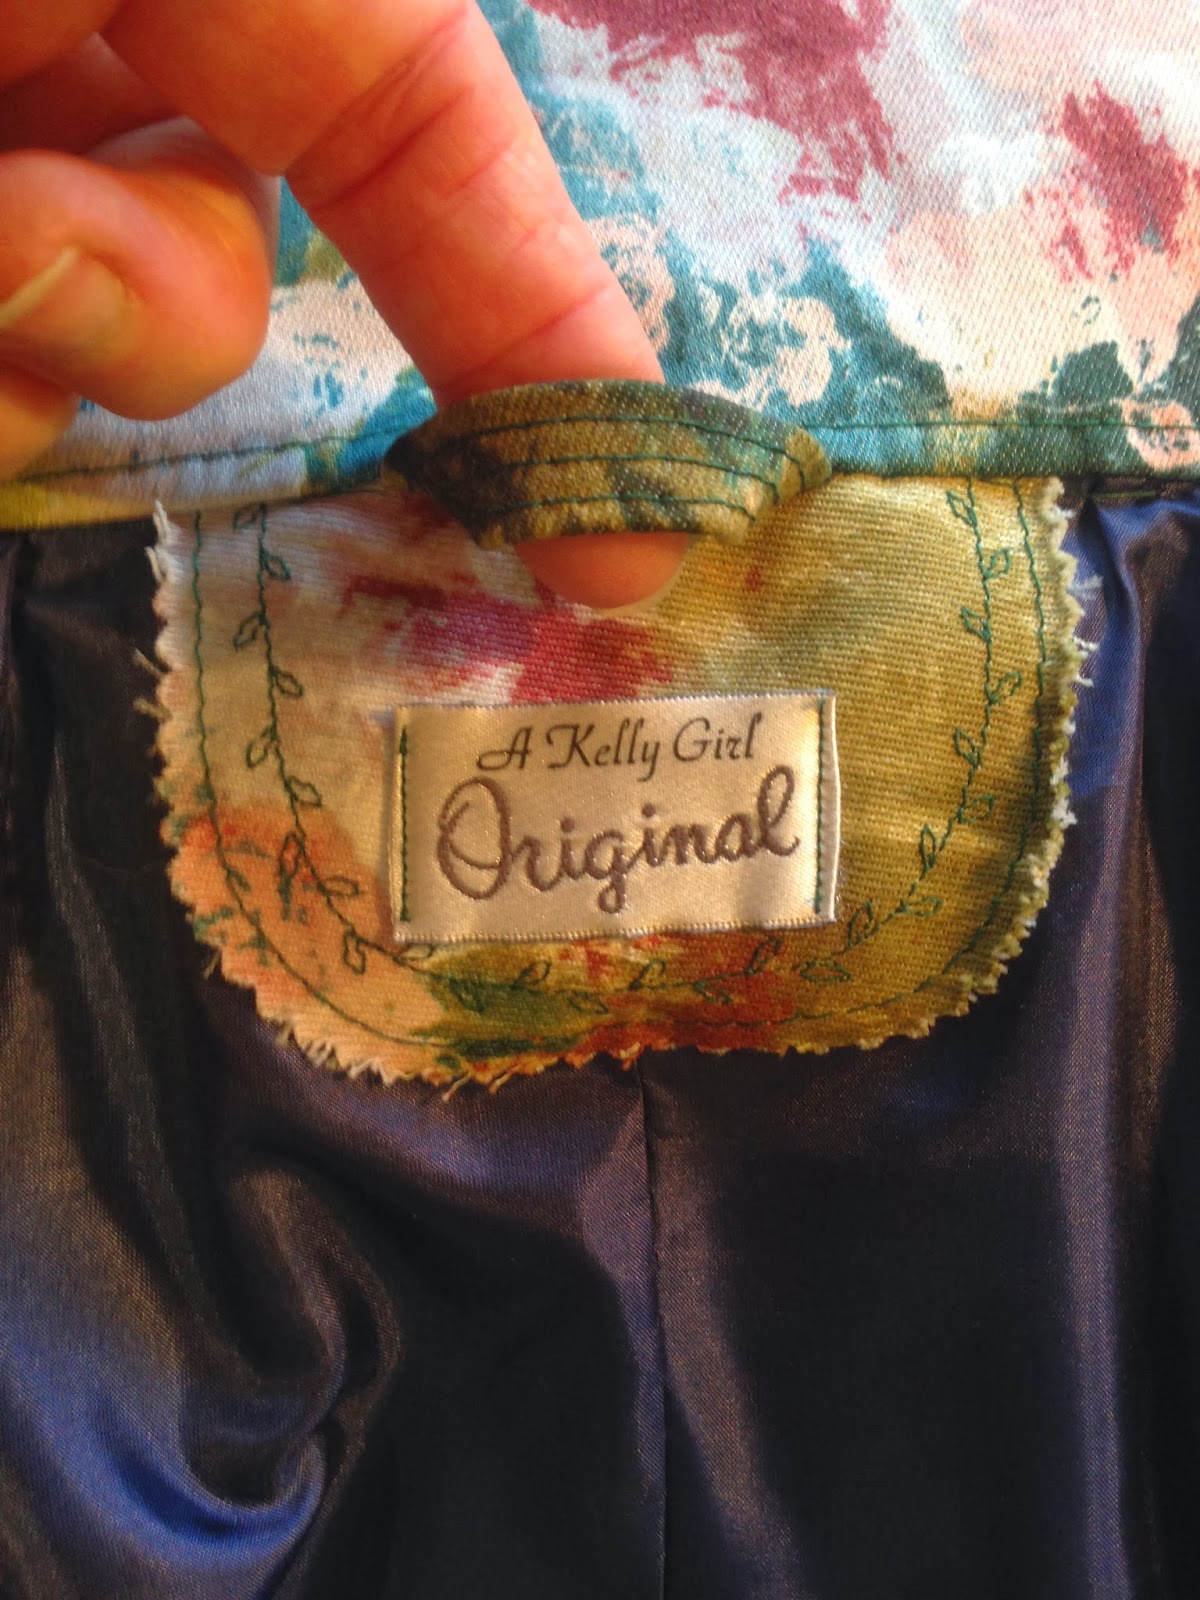
I added my label and hanging tab when inserting the lining.
Here is the where I released the basting in the back of the lining for ease during movement.
I put a hidden pocket on each front inside. In this view, you can see the zipper is not visible running along the front edge, due to the zipper facing that I added.
Here is the other hidden pocket on the other inside front, on this side, you can see the zipper running along the front edge.
Here is another view of the zipper facing. This is at the front bottom of the coat.
And the inseam pockets.....
I must say, I love this coat. I have been using it all week, and it is warm and comfortable. I love the raglan sleeves. You can get a closer fitting coat without comprising freedom of movement.
Imagine it is cold in my sewing room, I would be snug as a bug!

Stay Happy
Keep Sewing
and if you can't sew
Enjoy doing what you can do!
Grandma eye candy......


